Carpenters will tell you to sort out your wood species before you touch a saw, and there's a reason for that. A planter box built from the wrong lumber can look perfect in April and smell like wet rot by August. The species decision, the drainage setup, and the fastener choice all interact in ways that most weekend projects paper over until something fails.
Building a wooden planter box for a covered or open porch isn't complicated, but it does require treating moisture as the primary design constraint, not an afterthought. Cedar, redwood, and pressure-treated pine each behave differently under the freeze-thaw cycles common across much of the US, and the right call depends on where you live, how much direct rain the box will see, and whether you're growing edibles.
Here's the tension that most DIY guides quietly sidestep: the wood choices that resist rot longest are either expensive (Western red cedar, redwood) or carry chemical treatment questions (pressure-treated lumber) that matter if you're planting food crops. Getting that tradeoff wrong costs you either the box or your peace of mind about what's leaching into the soil.
Choosing the Right Wood
Western red cedar is the default recommendation for porch planter boxes in the US, and it earns that status. Its natural oils resist decay without added chemicals, it's dimensionally stable across humidity swings, and it's widely stocked at big-box stores and lumber yards in common 1x6 and 2x6 dimensions. Expect to pay roughly $1.50 to $2.50 per linear foot for cedar 1x6 boards, though prices vary by region and have shifted with lumber market volatility since 2020.
Redwood offers comparable rot resistance and is arguably more beautiful, but its availability is concentrated on the West Coast. If you're in the Southeast or Midwest, sourcing clear redwood means either a specialty lumber dealer or online ordering, and that adds cost fast.
Pressure-treated pine deserves an honest look. Modern pressure-treated lumber in the US uses alkaline copper quaternary (ACQ) or copper azole (CA) preservatives rather than the older chromated copper arsenate (CCA) that was phased out for residential use by the EPA in 2003. The University of Florida IFAS Extension notes that while current preservatives are considered lower-risk than CCA, most extension services recommend a physical barrier (heavy-duty polyethylene liner) between treated wood and soil when growing edibles, as a precaution rather than a confirmed hazard. For ornamental plantings on a porch, pressure-treated is a legitimate and budget-friendly choice. For tomatoes or herbs, line it or choose cedar.
Or rather: the liner question isn't just about chemical exposure. A good liner also dramatically extends the life of any wood species by reducing how long the interior surfaces stay wet. That's worth doing regardless of what you're growing.
Pine, fir, and spruce without treatment will rot within two to three seasons in most US climates. Don't waste the build time.
Dimensions, Plans, and Cutting
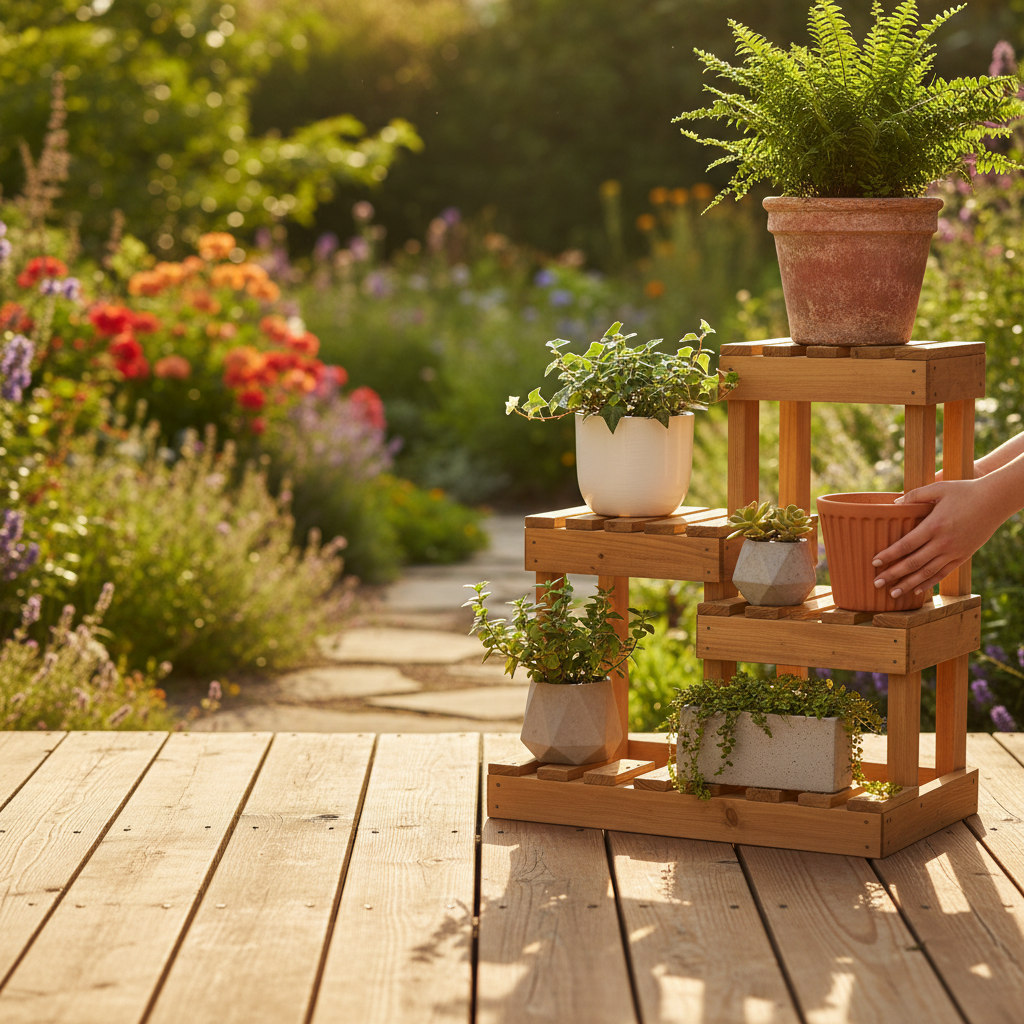
A standard porch planter box runs 24 to 36 inches long, 10 to 12 inches wide, and 10 to 14 inches deep. Those aren't arbitrary numbers: 10 inches of soil depth accommodates most annuals and herbs; 12 to 14 inches handles shallow-rooted perennials and most vegetables. Going deeper than 14 inches adds weight without meaningful planting benefit for most porch applications.
For a 24x10x10-inch box using 1x10 cedar boards (actual dimension 0.75 x 9.25 inches), you'll need:
- Two side pieces at 24 inches (long walls)
- Two end pieces at 8.5 inches (to account for 0.75-inch board thickness on each side)
- One bottom piece at 22.5 inches x 8.5 inches, or use slats with gaps for drainage
Cut all pieces before assembly. If you don't own a miter saw, most lumber yards and home centers will make straight crosscuts for a small fee, typically $0.25 to $1.00 per cut. That's a reasonable trade if you're building one box.
I'd start with the slat-bottom approach rather than a solid bottom panel. Three or four 1x4 slats with quarter-inch gaps between them drain better than any drilled-hole arrangement, and they're easier to replace individually if one board rots faster than the others.
The math that matters before you finalize dimensions: a 24x10x10-inch box holds roughly 1.4 cubic feet of potting mix. A cubic foot of moist potting soil weighs approximately 50 to 60 pounds (a common practical heuristic among professional landscapers). Add the wood weight, and your porch railing or shelf needs to support somewhere north of 85 to 100 pounds. Check your railing's load rating before you hang anything from it. Most standard residential deck railings aren't engineered for that kind of point load.
Assembly and Fasteners
Galvanized or stainless steel fasteners are non-negotiable for an outdoor build. Standard bright steel screws will rust and stain the wood within one rainy season, and the rust weakens the joint. Use 2-inch or 2.5-inch exterior-grade screws, either hot-dipped galvanized or type 316 stainless if the box will stay wet frequently.
Pre-drill every hole near the end grain. Cedar splits more easily than it looks like it will, especially in dry stock. A 1/8-inch pilot hole takes 30 seconds and prevents a cracked board that requires a trip back to the lumber yard.
Assembly sequence matters here. Attach the two short end pieces to one long side first, forming a U-shape. Then attach the second long side to close the rectangle. Add the bottom slats last, spaced evenly. This sequence keeps the box square without needing clamps.
Check for square by measuring corner to corner diagonally in both directions. If the two diagonal measurements match, the box is square. If they don't, apply gentle racking pressure to the longer diagonal before the screws fully seat.
And if you skip the squareness check, the lid or tray you add later won't fit, the soil weight will torque the frame over time, and the joints will open up. It's a two-minute step that determines whether the box lasts two years or ten.
Drainage, Lining, and Finishing
Drainage is where most planter boxes quietly fail. Roots sitting in standing water will rot just as surely as untreated wood will. If you used a solid bottom panel instead of slats, drill at least five to six 1/2-inch holes across it, spaced roughly every four inches. Bigger holes don't clog as fast as smaller ones.
Line the inside walls and bottom (not blocking the drainage gaps) with landscape fabric, not plastic sheeting. Plastic sheeting traps water; landscape fabric lets it through while slowing soil erosion. Staple it in place with a heavy-duty staple gun. This also keeps the soil from direct sustained contact with the wood interior, meaningfully extending service life.
For finishing the exterior, an exterior-grade penetrating oil finish or a water-repellent wood sealer extends the life of cedar or redwood noticeably. Two coats on all exterior surfaces before assembly, with special attention to end grain. End grain absorbs moisture at a far higher rate than face grain, and it's where rot typically starts.
What this article isn't covering: painting the box. Paint can work, but it traps moisture once it begins to peel, which accelerates exactly the damage you're trying to prevent. If you want color, use an exterior stain that penetrates rather than forms a film.
Buyers who skip the exterior finish step typically see surface checking and graying within the first full year. The box won't fail immediately, but the degradation timeline shortens significantly, and refinishing weathered cedar is more work than applying it fresh.
When This Build Doesn't Make Sense
A DIY cedar planter box isn't the right call for everyone. If you need more than two or three boxes, the per-unit material cost of quality cedar (typically $40 to $80 in materials for a 24-inch box, depending on lumber prices) often comes within range of well-made commercial cedar or teak planter boxes from retailers like Crate and Barrel or specialty garden suppliers, once you account for your time. The realistic alternative comparison: a 24-inch commercial cedar planter from a mid-range garden retailer runs roughly $60 to $120. You're building for customization, exact fit, or the satisfaction of the project, not primarily for cost savings.
Also: if your porch is covered with Trex-style composite decking and the aesthetic is contemporary, raw cedar may look mismatched. That's a legitimate reason to consider a powder-coated metal planter instead, which requires no maintenance and carries zero rot risk.
The one condition where I'd strongly advise against this build: a fully exposed rooftop deck or balcony in a high-rainfall coastal climate, like coastal Oregon, coastal Maine, or the Pacific Northwest. Cedar holds up well, but in those environments, even well-maintained cedar boxes need refinishing every one to two years. The maintenance burden is real. Teak or ipe (though expensive) or composite alternatives may make more sense for that specific context.
Putting It Together: The Build Sequence
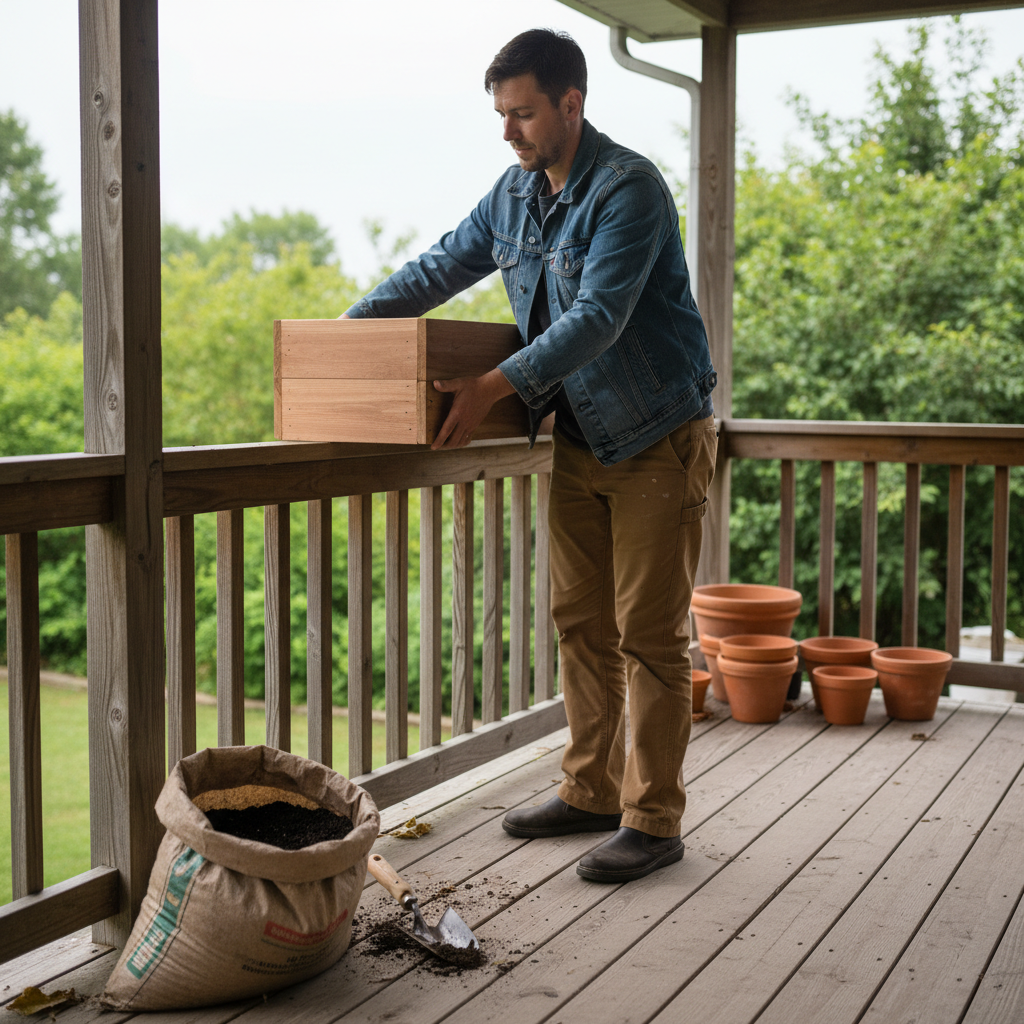
Buy your lumber and let it acclimate for 24 to 48 hours in the space where it will be stored, especially if you're bringing it from an air-conditioned store into outdoor humidity. Wood moves when it acclimates, and you want that movement to happen before assembly, not after.
Apply two coats of exterior penetrating oil to all pieces before the first screw goes in. Let each coat dry fully, typically four to six hours depending on conditions. This is easier than trying to coat an assembled box.
Assemble in this order: end pieces to first long side, second long side, then bottom slats. Check square before driving the final screws home. Install landscape fabric. Fill with a quality potting mix, not garden soil (garden soil compacts and doesn't drain well in containers). Place it.
The total project time for a single 24-inch box, not counting drying time for the finish, runs two to three hours for someone working at a relaxed pace with all materials on hand. That's an honest estimate, not a best-case scenario.
Start with the wood decision. Everything else follows from it.