A carpenter will size up your wall before discussing anything else, and there's a reason for that. The shelf itself is the easy part. What it hangs on determines whether it stays up. You can build a functional wood shelf in a single afternoon, but the decisions you make in the first twenty minutes, about lumber dimensions, wall structure, and fastener type, determine whether it holds your books or ends up on your floor.
Three factors shape the outcome more than anything else: the weight the shelf needs to carry, what's inside your wall, and whether your brackets land on something solid. Most DIY guides treat these as quick checkboxes. They're not. A shelf loaded with hardcover books or cast-iron cookware behaves completely differently from one holding picture frames, and the fastener that works fine for the second will fail quietly under the first. That's the tension nobody resolves upfront.
This guide covers one project: a straightforward single-span wood shelf, wall-mounted with brackets, built by someone who hasn't done it before. It won't cover floating shelf systems with hidden hardware, built-in cabinetry, or load-bearing structural shelves. Those are different projects with different stakes.
What You Need Before You Buy Anything
The shelf's weight capacity is set before you pick up a saw. It's set at the wall. Drywall alone holds almost nothing under sustained load: a drywall anchor rated for 50 pounds in static testing will work loose over months when loaded with books, because drywall compresses and crumbles under shear stress. The only fastener worth trusting for a loaded shelf is a screw driven into a stud.
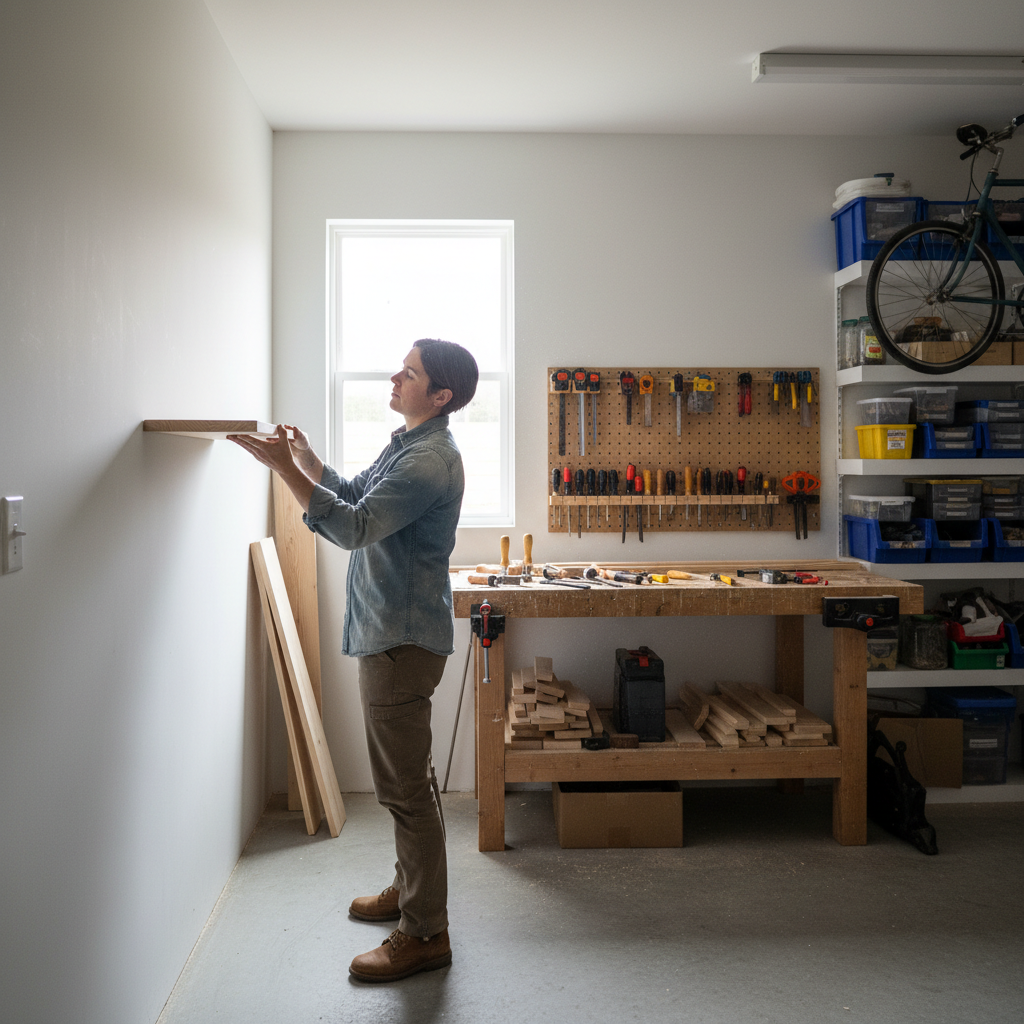
Standard stud spacing in American residential construction is 16 inches on center, though some walls run 24 inches. Find yours with a stud finder before you plan anything else. Run it slowly, mark both edges of each stud, and drive a small finish nail to confirm. The center of the stud is where your bracket screws go. If your planned shelf location doesn't line up with studs at a useful interval, you have two real options: shift the shelf position, or use a properly rated toggle bolt designed for hollow-wall loads. I'd start with moving the shelf. Toggles work, but stud-mounted brackets are more reliable over time.
For lumber, a standard 1×8 or 1×10 pine board (actual dimensions: 3/4 inch thick) handles most household shelving loads at spans up to 36 inches between brackets. Beyond 36 inches, pine will sag noticeably under anything heavier than light decorative items. A common guideline from woodworking references is to keep shelf spans under 32 inches for books and under 48 inches for lightweight items. Anything heavier than roughly 20 pounds per linear foot calls for hardwood or a thicker panel. That's a practical heuristic, not a structural engineering standard, but it's the threshold most experienced DIYers use to decide when to add a center bracket.
Your shopping list for a basic 36-inch shelf: one 1×8 pine board cut to length, two shelf brackets rated for at least twice your expected load (bracket load ratings are listed on the packaging), 2.5-inch coarse-thread wood screws for stud mounting, sandpaper in 120 and 220 grit, and your finish of choice. Total material cost typically runs $25 to $55 depending on lumber grade and bracket style.
Cutting, Sanding, and Finishing the Board
If you're buying from a home center like Home Depot or Lowe's, ask them to crosscut the board to your finished length. The cut is usually free or costs under a dollar, and it saves you setting up a saw for one straight cut. Confirm the cut is square before you leave the store by holding the end against a known reference.
Sand with 120 grit first, going with the grain. Then 220 grit to smooth it out. That understates it, actually. The 120-grit pass is doing real work: it removes mill marks and pencil lines that will telegraph through any finish. Skip it and your paint or stain will look uneven even after a second coat. Wipe the dust with a tack cloth before finishing.
For finish, two coats of a water-based polyurethane handles most indoor shelving situations well. It dries fast (recoat in two hours), cleans up with water, and holds up to the occasional damp item. Oil-based poly is more durable but takes overnight to recoat and has stronger fumes. If you're painting, one coat of shellac-based primer followed by two coats of latex paint gives you a hard, cleanable surface. Let each coat dry fully before the next. Rushing this step is where most first shelves end up looking homemade in the bad sense.
If you want the grain to show, a wipe-on oil finish like tung oil or Danish oil is forgiving and easy to apply. It won't be as durable as poly, but for a decorative shelf it's perfectly adequate and looks warm.
Mounting: Where Most Shelves Fail
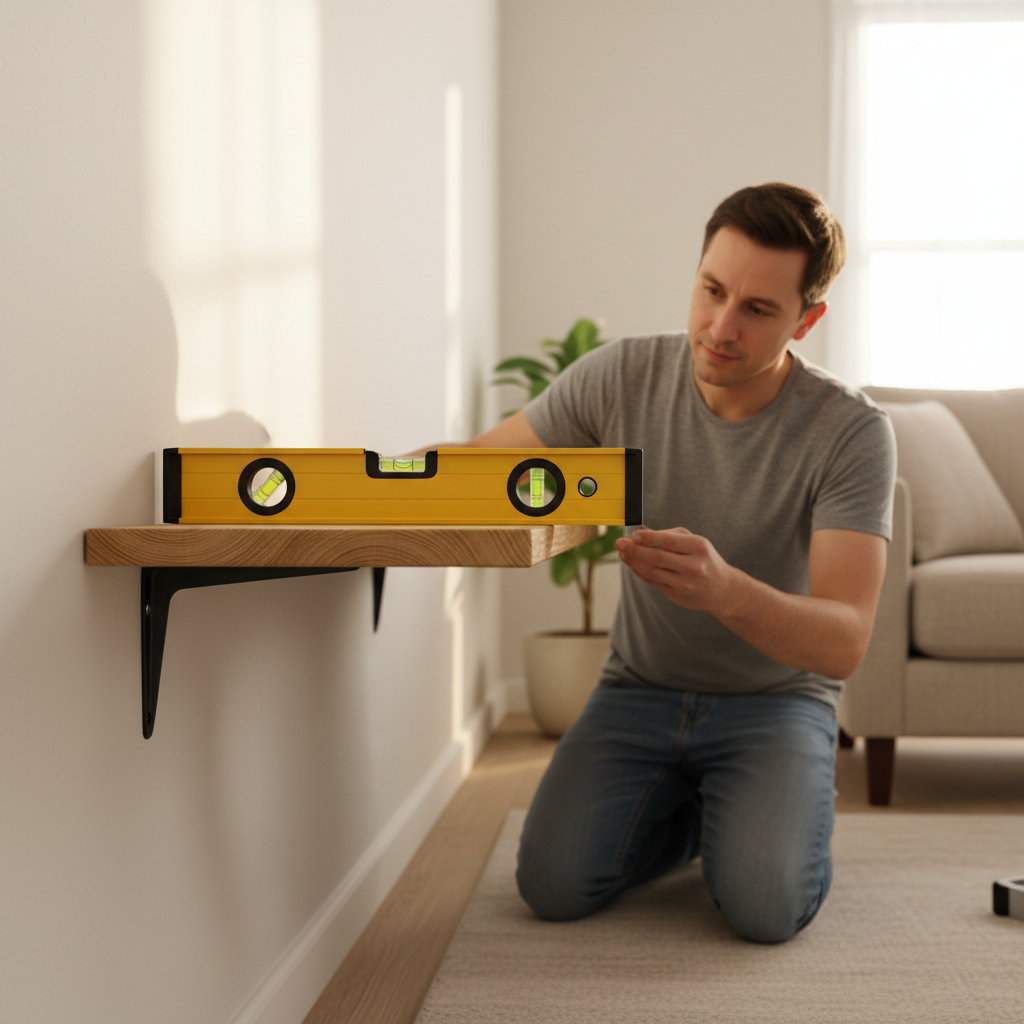
Level matters more than you think, and getting it wrong is permanent once the screws are in. Use a 24-inch bubble level or a digital level app on your phone. Mark the bracket positions on the wall, hold the level across both marks, and adjust before you drill anything.
Drill a pilot hole slightly smaller than your screw shank before driving into a stud. Skipping the pilot hole risks splitting the stud's edge grain if your bracket lands near the stud's side, and it makes the screw harder to drive straight. Use 2.5-inch screws minimum. Shorter screws don't get enough bite into the stud through the drywall layer (typically 1/2 inch) plus the bracket flange.
Or rather: the screw length calculation matters here. Drywall is typically 1/2 inch thick. Your bracket flange is usually 1/8 to 1/4 inch. A 2.5-inch screw leaves roughly 1.75 inches of thread in the stud. That's adequate for moderate loads. For anything over 30 pounds total shelf weight, use 3-inch screws and get a full 2-plus inches into the stud.
Mount both brackets, set the board on top, and check for level again before attaching the board to the brackets. Minor adjustments are easy at this stage. After the board is screwed down, they're not. Drive screws up through the bracket's top holes into the underside of the board. Pre-drill here too; blowing out the top face of your finished shelf with a screw is a frustrating way to end the afternoon.
If you skip the stud-finding step and anchor into drywall alone, the shelf will probably hold for a while under light loads. Then one day you'll add one more item, or the anchor will work loose from vibration, and the whole thing comes down. The damage to the wall costs more to repair than the shelf cost to build.
When This Approach Doesn't Work
Stud-mounted brackets on a single span work for the large majority of household shelving. But there are real situations where this method is the wrong choice.
Tile walls in kitchens and bathrooms require tile-specific drill bits and anchors, and hitting a stud through tile without cracking it takes more care than a first-time project allows. For tiled surfaces, a freestanding shelf unit is a better afternoon project.
Plaster walls, common in homes built before the 1950s, behave differently from drywall. Plaster is harder, more brittle, and the stud spacing is less predictable. Standard stud finders often misread through plaster. If you're working in an older home, probe carefully and consider using a plaster-rated anchor in addition to stud screws.
And if your shelf needs to hold more than roughly 50 pounds total, a two-bracket system on a single 1×8 is pushing its limits. Heavier loads call for thicker lumber, more brackets, or a different construction approach entirely. This isn't the article for that project.
Finishing the Afternoon
Mount the brackets first, then set the board. Don't attach the board permanently until you've confirmed level one final time with something resting on the shelf surface. Your eye will lie to you. The level won't.
Step back and load it lightly for the first 24 hours before putting full weight on it. Not because the screws need to cure, but because you'll catch any settling or visual problems while they're still easy to fix. After that, load it up.
A wood shelf built this way, with studs found and confirmed, pilot holes drilled, proper screw length, and finish coats fully dried, will outlast the furniture in the room. The ones that come down are almost always the ones where someone skipped the stud finder or trusted a drywall anchor under real weight. Don't be that person. The fifteen minutes spent finding your studs is the most valuable part of the afternoon.