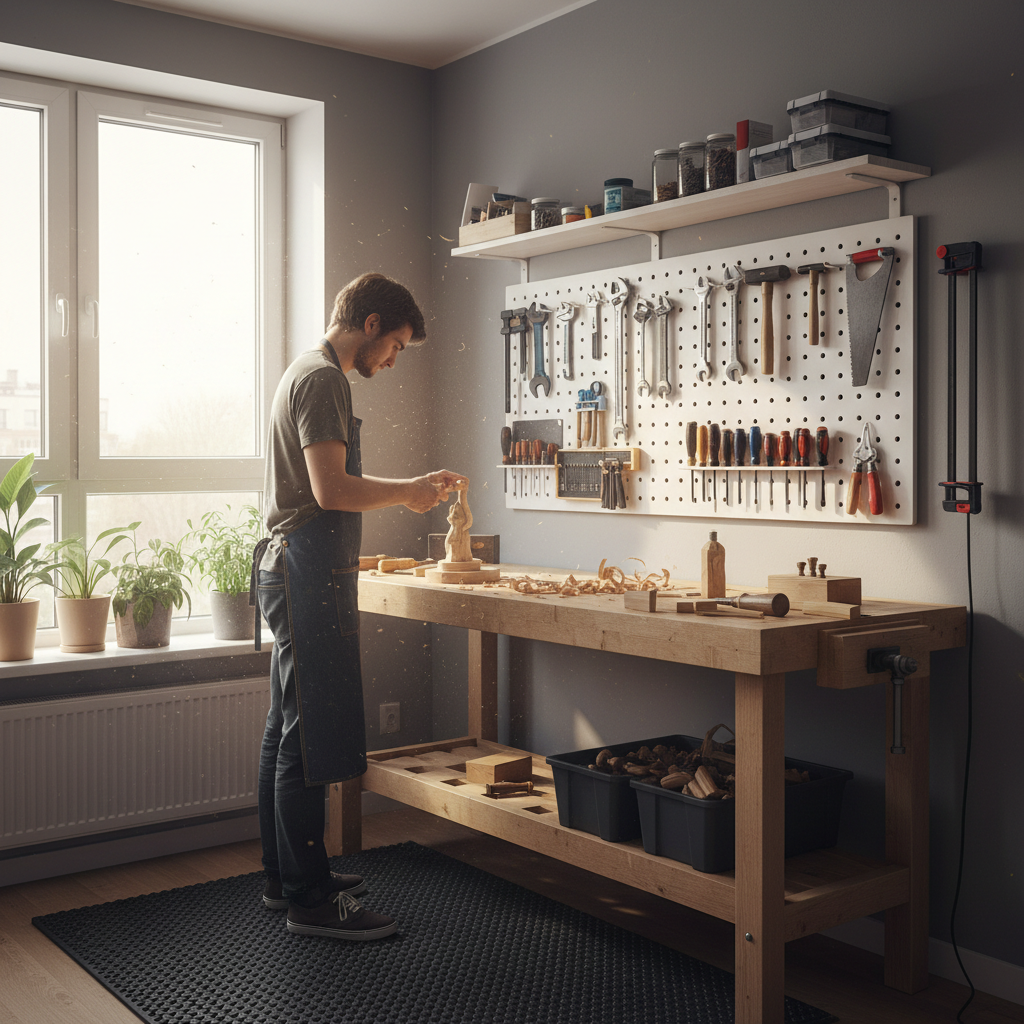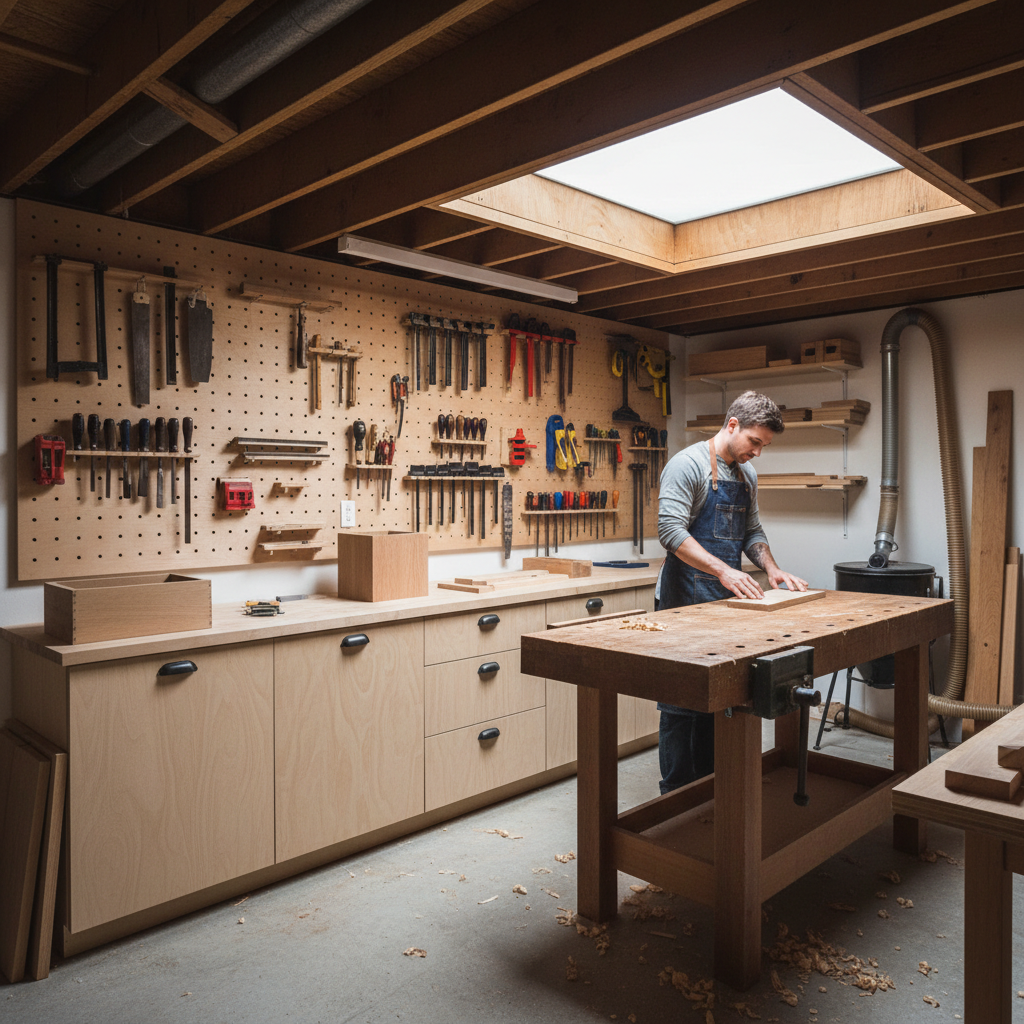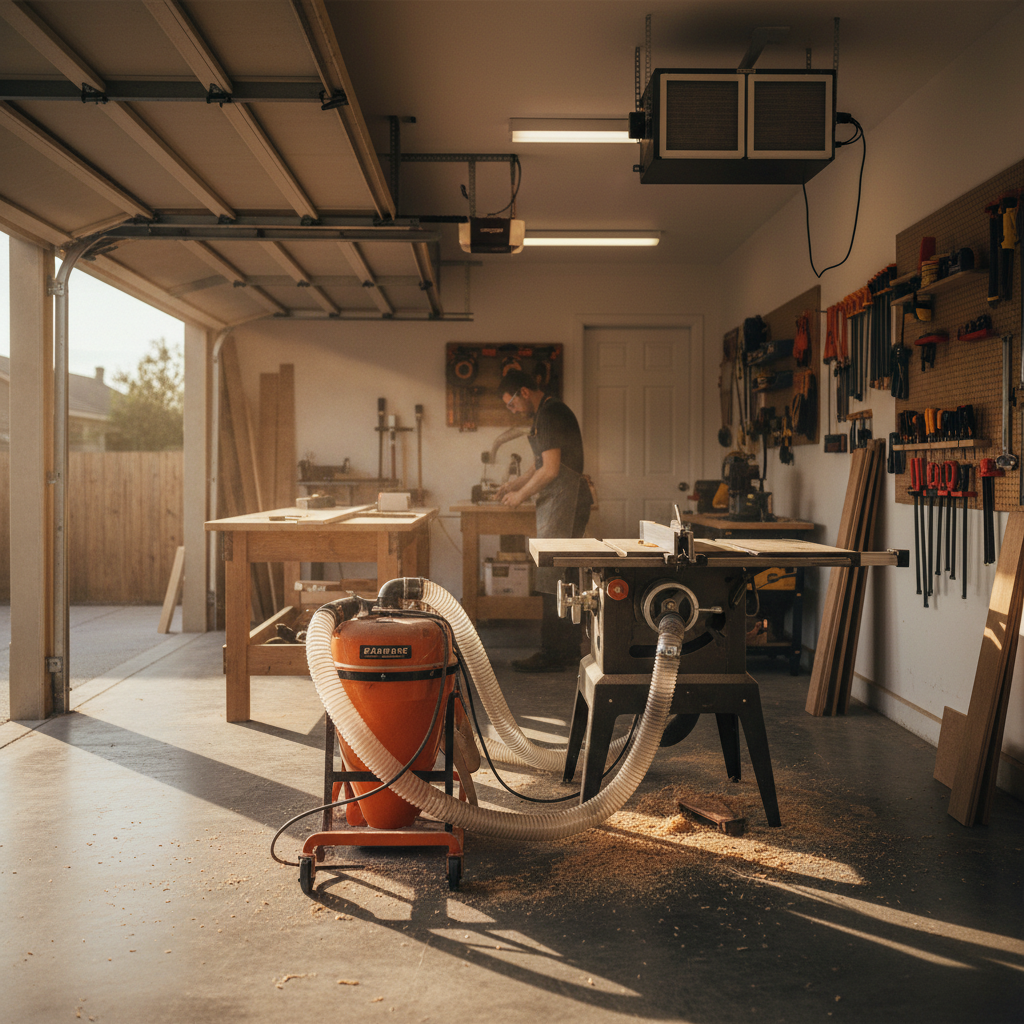
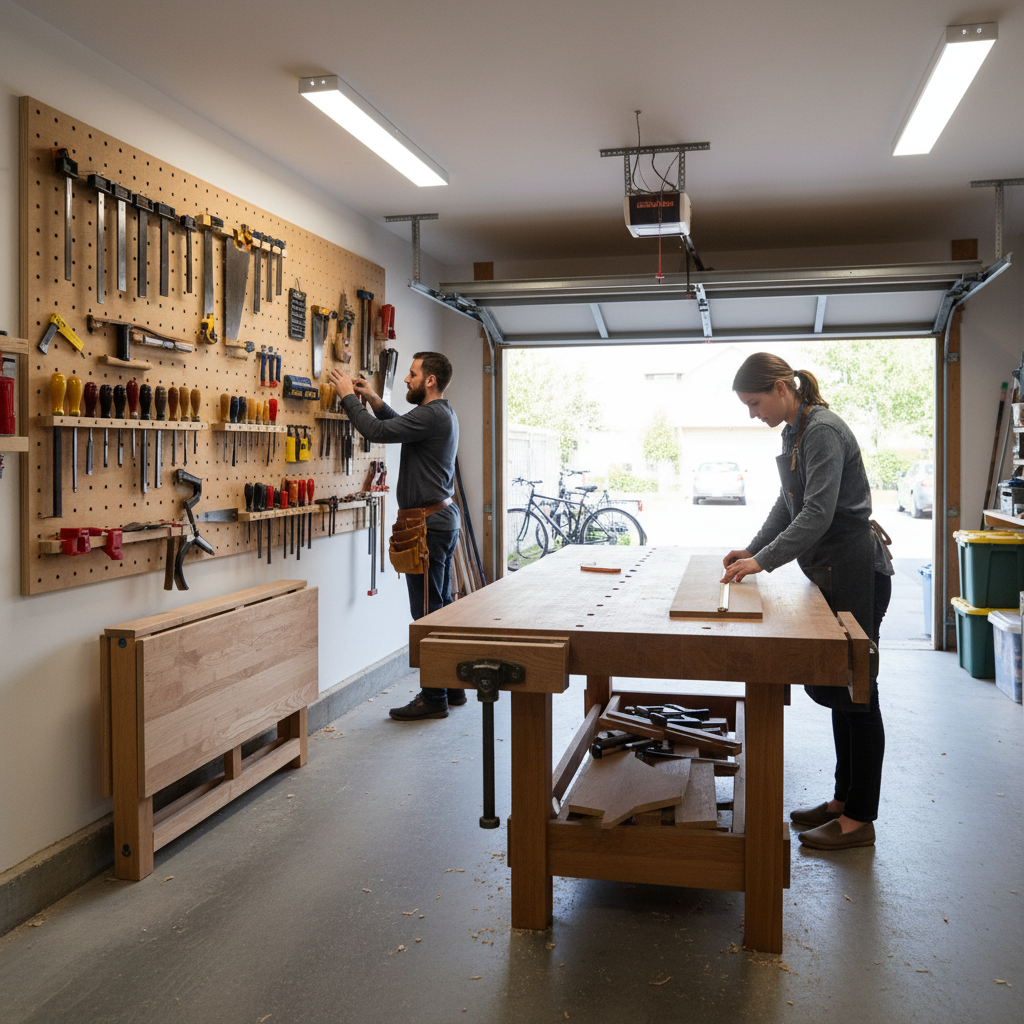
Carpenters will tell you to measure your garage door clearance before you buy a single board, and there's a reason they lead with that. A one-car garage runs roughly 12 by 20 feet in most American homes, and that number sounds generous until a car, a bench, and a table saw all compete for the same floor space. The math gets tight fast.
Setting up a woodworking workbench in that space isn't simply a question of which bench to build. It turns on three variables that most people don't weigh together: bench depth against the wall, the swing path of your car door, and whether you intend to keep the car inside at all during shop hours. Change any one of those and the right bench layout changes with it.
Here's the tension that catches people off guard: the bench dimensions that feel best for woodworking, typically 24 to 30 inches deep, are exactly the dimensions that make a shared garage feel unworkable. A 24-inch-deep bench leaves you a 10-foot working lane in a 12-foot-wide garage, which sounds fine until you're ripping an 8-foot board and need to walk the full length of the cut.
What Your Garage's Footprint Actually Allows
Before picking a bench style, do one calculation the hardware-store guides skip. Measure from your back wall to the front of your car when it's parked fully inside. In a standard 20-foot-deep single-car garage, a midsize sedan typically parks with its nose 3 to 4 feet from the back wall, leaving 16 to 17 feet of usable depth when the car is out. That 16 feet sounds like a lot. It isn't once you account for bench depth, an outfeed zone behind the workpiece, and the ability to walk around the bench without turning sideways.
A common guideline among shop builders is to keep your primary bench depth at 24 inches maximum if you're sharing the space with a car. That's not a code requirement or a published standard; it's a practical boundary derived from standard garage widths. A 24-inch bench against one long wall leaves roughly 9 feet of clear lane in a 12-foot-wide garage. That's enough to rip a sheet of plywood lengthwise if you position yourself at the end of the bench rather than standing beside it mid-cut. Go to 30 inches and that lane shrinks to 8 feet, which changes the answer for anyone working with full sheet goods regularly.
Or rather: the issue isn't just the bench itself. The real constraint is the car door arc. A typical car door swings 24 to 30 inches from the door edge when fully open. If your bench runs along the driver's side wall, you need at least that much clearance between the bench face and the car's side mirror line, or you'll be squeezing in and out of the car every time you enter the shop. Measure that arc with your car parked inside before you mount a single cleat.
If you share the garage with a car daily, a 24-inch-deep fixed bench is your ceiling. If the car stays outside from spring through fall, you can build to 30 inches and reclaim that depth seasonally. Decide which situation is actually yours, not which one you'd prefer.
Choosing Between a Fixed Bench and a Folding Setup
The folding workbench gets recommended constantly for small garages, and it's worth examining when that advice actually holds up versus when it steers you wrong.
A fold-down bench mounted to the wall frees floor space completely when closed. The typical wall-mounted folding design gives you a 24-by-60-inch work surface when open, folds flat to about 6 inches of depth when closed, and can support 300 to 500 pounds depending on the hardware and ledger construction. That's legitimate shop capacity for layout work, hand-tool operations, and assembly. Where it fails is in the legs. Most folding bench designs rely on a single swing-out leg or a pair of them, and that configuration introduces flex under heavy handplaning or chopping mortises. If your woodworking is primarily power-tool assembly and finishing, that flex won't matter. If you're doing any serious hand-tool work, you'll feel it on every mallet strike.
A fixed bench doesn't have that problem. A properly built Roubo-style or torsion-box bench with four legs and stretchers is stable in a way a fold-down simply can't replicate. The tradeoff is permanent floor claim. If you build a 60-by-24-inch fixed bench along the back wall, that footprint is gone year-round. Whether that's acceptable depends entirely on whether the car is your priority or the shop is.
I'd start with a fixed bench against the back wall and a secondary fold-down along one side wall if the budget and wall framing allow it. The fixed bench becomes your primary work surface; the fold-down handles finishing, clamping, and overflow. That combination outperforms either solution alone for under $400 in materials if you're building rather than buying.
Buyers who skip the fixed bench in favor of a fold-down to save space often end up frustrated within a year. The workbench isn't just a surface; it's an anchor. Without the mass and rigidity of a proper fixed bench, every operation that requires resistance, planing, sawing, chiseling, becomes harder than it should be. That's not a quality-of-life complaint; it's a safety issue, because operators compensate for a flexy bench with more force, and more force means less control.
Bench Height, Vise Position, and the Layout That Actually Works
Bench height is personal, but there's a reliable starting method: stand with your arms at your sides and measure to the floor from the crease of your wrist. That puts the work surface at a height where you can apply downward pressure without hunching. For a 5-foot-10-inch person, that's typically 34 to 36 inches. Most commercially sold workbenches are built to 34 inches, which is a few inches low for taller woodworkers doing hand-tool work and exactly right for power-tool operations where visibility over the workpiece matters more than force.
Vise position matters more than most bench guides admit. A face vise belongs on the left end of the bench if you're right-handed, at the same height as the bench surface. A tail vise or end vise goes on the right end and works in combination with bench dogs to hold long boards flat. If you're building your first shop bench in a one-car garage, one face vise is enough to start. Add the tail vise later when you've identified exactly how you're using the bench. Buying both at once because they look complete is how you spend $300 on hardware you use unevenly.
For layout in a 12-by-20-foot one-car garage, the configuration that works for the widest range of woodworkers is this: fixed bench along the back wall (24 inches deep, 72 inches long), a secondary fold-down or freestanding assembly table along the driver's-side wall, and tools stored on wall-mounted French cleats above both surfaces. Keep the passenger-side wall clear if at all possible. That's your infeed and outfeed zone when you're running a miter saw or table saw, and losing it to shelving is a mistake most people make in the first year and fix in the second.
The reframe worth sitting with: a one-car garage workshop isn't a compromise version of a real shop. It's a different kind of shop, one that rewards modular, wall-mounted storage and deliberate tool selection over accumulation. Woodworkers who treat it as a full shop that happens to be small tend to fill it into uselessness. Those who treat it as a curated space tend to produce better work because they're forced to choose their tools carefully.
What to Do If the Car Has to Stay Inside
This is where most garage shop guides get vague, so let's be direct: if the car must remain inside the garage year-round, a fixed full-depth workbench is not the right solution for most people. That's a real constraint, not a failure of ambition.
The realistic option in a car-plus-shop garage is a 16-to-18-inch-deep wall-mounted bench along the back wall combined with a fold-down side bench. Sixteen inches is shallow for most hand operations, but it handles layout, tool storage, and light assembly without consuming the lane you need to walk around the car. Pair it with a portable workbench (a Workmate-style unit or a low sawhorse pair) that you set up in the open floor space when the car is out and fold away when it returns.
That setup won't satisfy someone doing serious furniture-scale woodworking. But serious furniture-scale woodworking and a daily-driver car cannot comfortably share a one-car garage simultaneously. Pretending otherwise leads to a bench that blocks the car door, a car that blocks the outfeed path, and a shop that's genuinely dangerous to work in.
Woodworkers who ignore this constraint and build a full bench in a car-occupied garage typically end up parking the car outside permanently within six months. But that's a decision worth making consciously, not one that happens by accident after you've already poured concrete anchors.
Electrical, Lighting, and the One Upgrade That Pays Off First
A workbench without adequate lighting is a safety problem before it's a quality problem. The standard single-bulb overhead fixture in most residential garages puts light directly above but leaves the bench surface in partial shadow when you're leaning over it. Add two 4-foot LED shop lights directly above the bench line, mounted 12 to 18 inches above the bench surface, before you invest in any other electrical upgrade. LED shop lights (the linked-fixture style that runs on a standard 120V outlet) run $25 to $50 each and can be daisy-chained from a single outlet without an electrician, assuming you're not running power tools off the same circuit simultaneously.
Power tools are the circuit question. A standard residential garage circuit is 20 amps at 120V. A table saw drawing 15 amps and a shop vac drawing 6 amps will trip that circuit together. If you're planning to run a table saw, a thickness planer, or a dust collector in your one-car garage shop, get a dedicated 20-amp circuit run to the bench area. That's an electrician call, typically $150 to $300 depending on panel distance and local labor rates. It's not optional if you want to run a table saw without nuisance trips.
So: lighting first (no permit, no electrician, immediate impact), dedicated circuit second (before the table saw arrives, not after). The sequence matters because lighting affects every single shop session from day one, while the dedicated circuit only matters when you're running a high-draw tool.