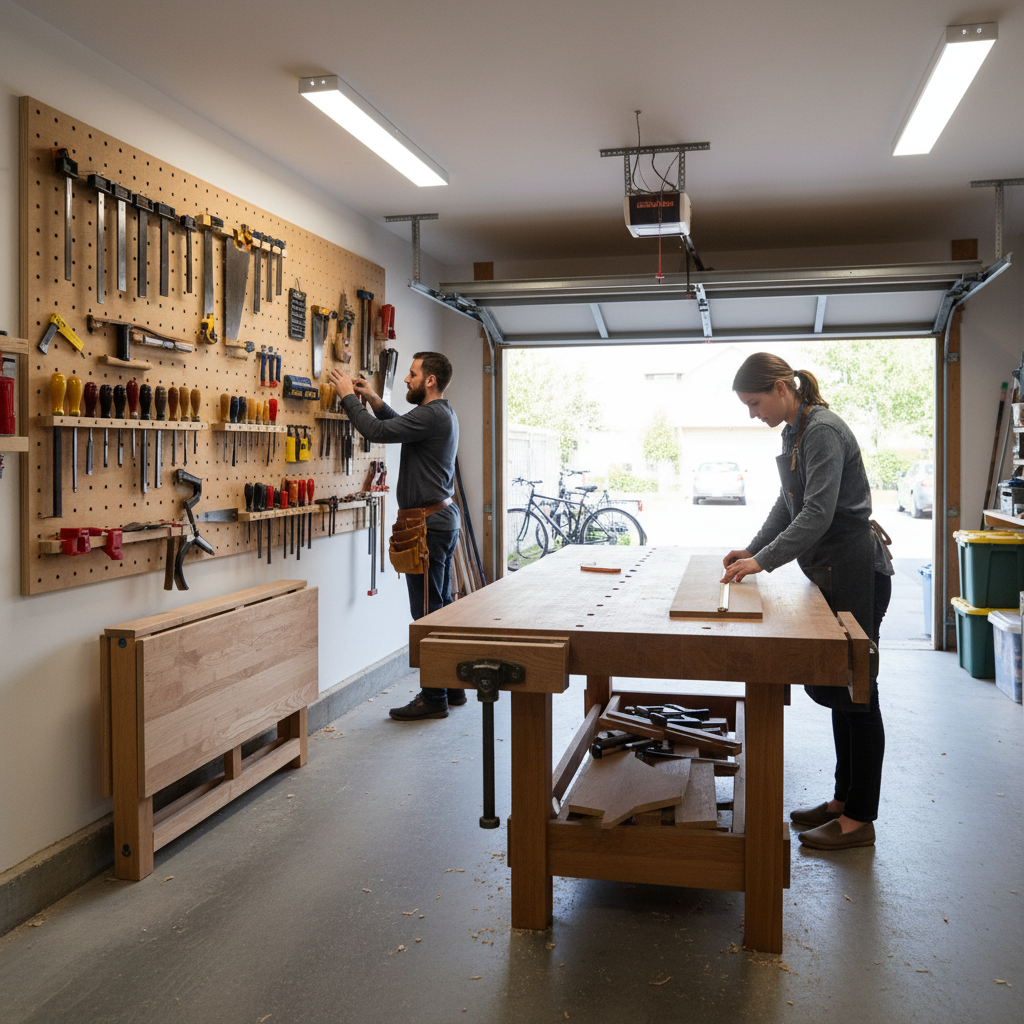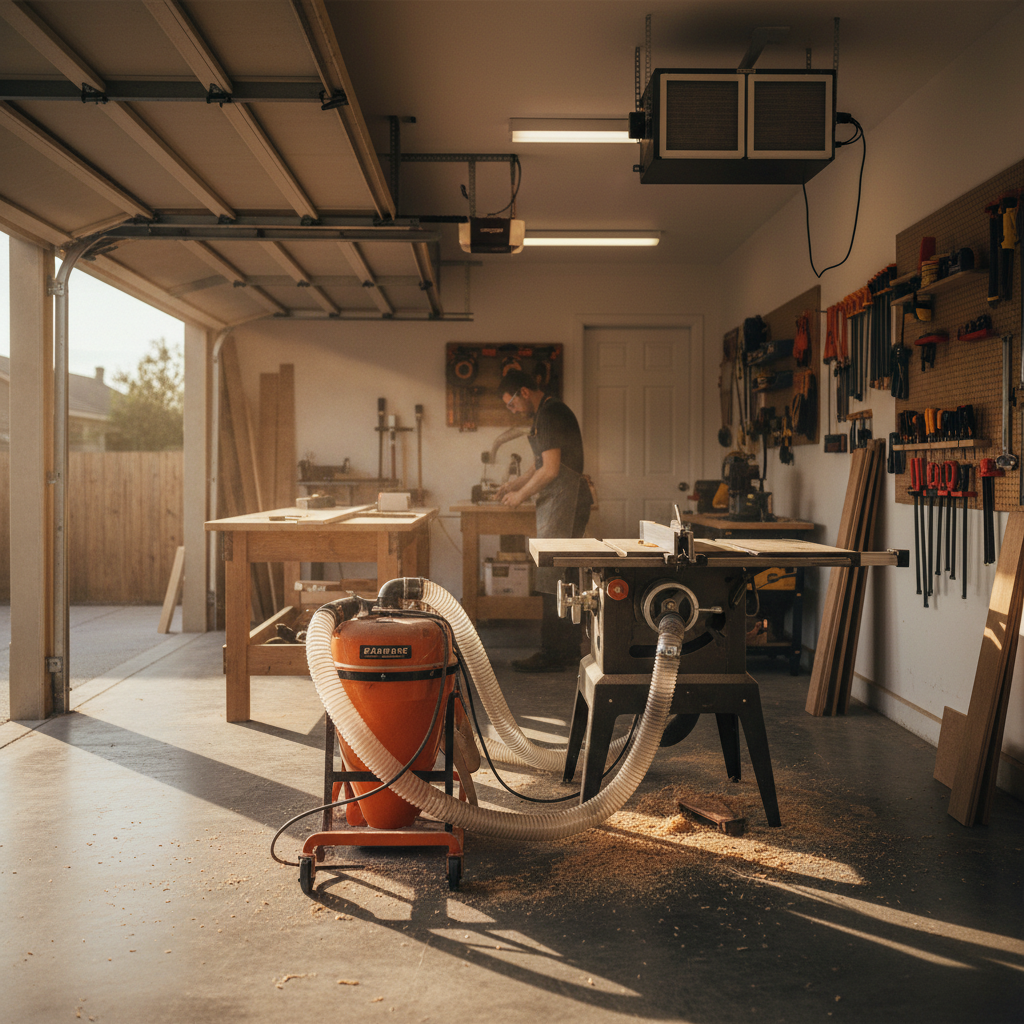
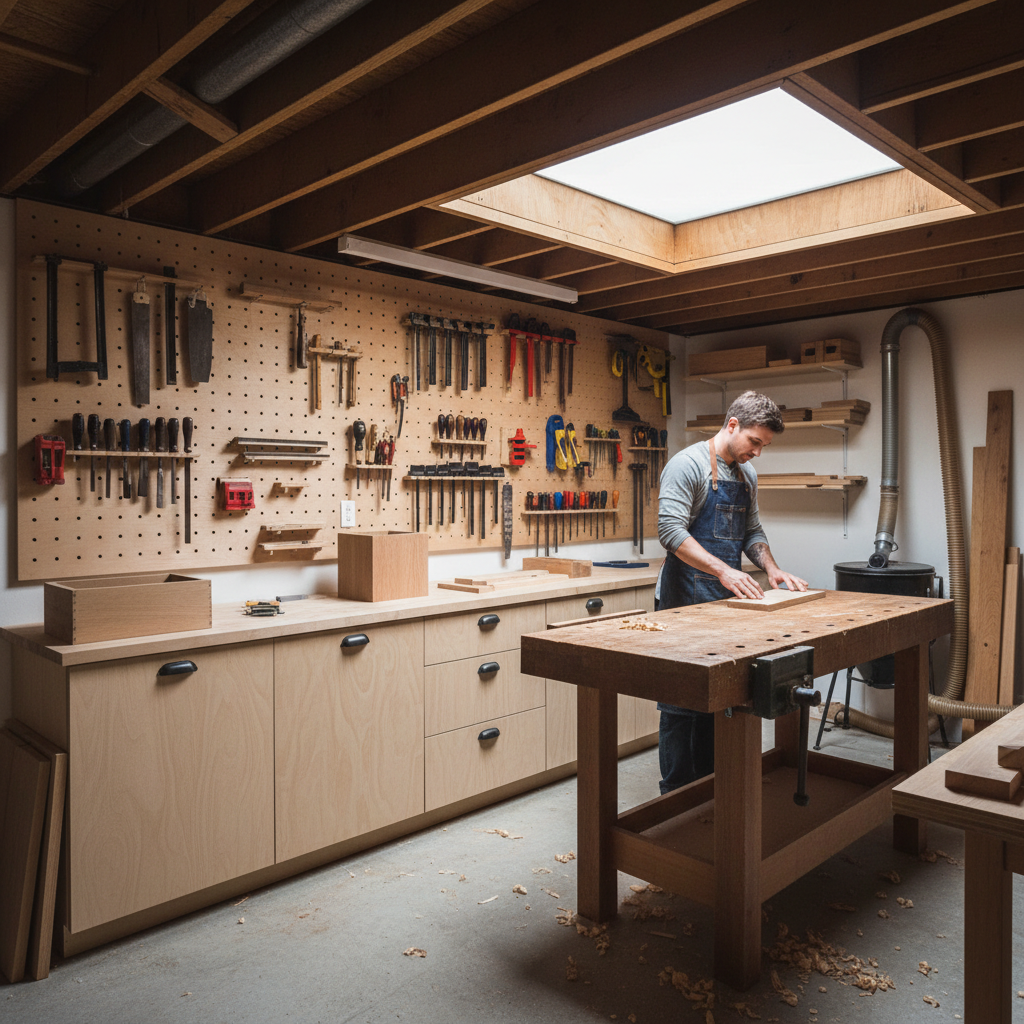
Woodworkers setting up in a basement with under 400 square feet often spend more money fixing their first storage layout than they spent building it, and that pattern is almost entirely avoidable.
The core problem with woodworking tool storage in a tight basement shop isn't access to products. It's that the three factors shaping every storage decision, floor footprint, ceiling height, and workflow arc, pull in different directions, and getting even one of them wrong compounds the other two.
Floor-mounted cabinets feel like the logical anchor until you realize your dust collection hose now has nowhere to route. Wall-mounted French cleat systems feel liberating until the joists run perpendicular and your mounting depth is less than you assumed. The tension here is real: the storage system that holds the most tools in the least space is rarely the same system that lets you work without constantly moving things out of the way.
Why Floor Space Is the Wrong Starting Metric
Measuring your basement shop in square feet and then shopping for storage to fit that number is how you end up with a cabinet that technically fits but blocks your outfeed zone every time you run a board through the table saw. Floor footprint matters, but it's not the primary constraint.
The real unit of a small shop is linear wall inches minus obstructions. Count your unobstructed wall run, subtract window wells, electrical panels, water heaters, and any wall penetrations, then subtract the swing arcs of your largest tool. What's left is your actual storage budget. In a 350-square-foot basement, that number is often under 18 linear feet of usable wall, and it goes fast.
Or rather: that figure understates the loss. Basement shops carry an additional constraint most above-grade garages don't. Ceiling height at the perimeter frequently drops to 6.5 or 7 feet under duct runs and beam pockets, which makes tall cabinets unworkable at the walls where you'd most want them. The workable ceiling height in the middle of the room may be 8 feet, but that space is occupied by your tools, not your walls. You can't hang a French cleat panel from the center of the room.
That reframe matters for every decision downstream. You're not organizing storage around floor area; you're organizing it around the ceiling-height-to-wall-clearance envelope at each specific wall segment. Before you buy a single cabinet or peg strip, sketch each wall with its measured height, obstructions, and nearest tool swing arc. Twenty minutes with a tape measure and graph paper is worth more than any storage product review.
The Four Storage Systems and Where Each One Breaks Down
There are four systems worth comparing seriously. Each has a specific failure mode in small basement shops that most product descriptions skip past.
The table below maps them against the criteria that matter most in a space-constrained basement setting.
| System | Floor Footprint | Works Under Low Ceiling | Reconfigurable | Best For |
|---|---|---|---|---|
| French Cleat Wall Panel | None | Yes, if joists run parallel to panel | High | Hand tools, jigs, accessories |
| Floor Cabinet (base only) | High | Yes | Low | Heavy power tools, bulk stock |
| Tall Freestanding Cabinet | Medium | No (needs 7.5+ ft clear) | Low | Above-grade shops primarily |
| Hanging Ceiling Track | None | No (needs 8+ ft to be practical) | Medium | Lumber and sheet goods only |
The practical takeaway from that comparison is that French cleat systems and low-profile base cabinets solve most problems in a basement under 8-foot ceilings. Tall freestanding cabinets are often the first thing people buy and the first thing they regret. If your ceiling clearance at the perimeter wall is below 7.5 feet, a tall cabinet placed there blocks sight lines and forces you to crouch to use anything on the bottom shelf anyway.
French cleats earn their reputation, but they have two failure points people discover late. First, if your basement walls are concrete block or poured concrete, mounting a cleat panel requires anchoring into masonry, which is doable with sleeve anchors or Tapcon screws but adds meaningful complexity and changes your load capacity calculation. A 3/4-inch plywood panel loaded with chisels, marking gauges, and router bits can run 40 to 60 pounds without much trouble, and that load needs masonry fasteners rated for it. Second, if you have any uninsulated or intermittently damp basement walls, putting wood-backed storage directly against them risks moisture transfer over time. A small standoff gap, even an inch, helps.
But here's the honest caveat for French cleats: if your primary storage need is power tools rather than hand tools and accessories, a cleat wall solves the wrong problem. A router, a random-orbit sander, and a biscuit joiner sitting on individual cleat shelves is a lot of hardware dangling at eye level, and those shelves need to be purpose-built for each tool's weight and geometry. For power tools, a low base cabinet with a full-extension drawer keeps weight low and gives you a flat surface to set things on when you pull them out. That's not a cleat job.
Workflow Arc: The Variable Every Guide Ignores Until You've Already Mounted Things
Storage placement in a small shop isn't just about holding tools. It's about where you are in the room when you need each tool, and how many steps it costs to get it.
A common mistake is organizing by tool category instead of workflow position. Chisels go with chisels, sanders go with sanders. That makes sense in a catalog but not in a shop where your bench is on the south wall, your table saw is center-right, and your miter saw is against the north wall. If you're doing rough dimensioning at the table saw and need to grab a marking knife, having it stored with other hand tools on the hand-tool wall 12 feet away costs you time and floor traversal across a space that's likely got sawdust and offcuts on it.
The practical organizing principle is station-based storage: group tools by where you use them, not what category they belong to. Clamps go where you assemble, not where there's wall space. Measuring and layout tools go at or near the workbench. Blades, bits, and accessories go within arm's reach of the machines they serve. In a tiny shop, this often means small dedicated holders or shallow cabinets mounted directly to the side or back of each machine's stand, rather than one central storage wall.
What you'll notice when you lay this out on paper is that station-based storage actually uses less total wall space than categorical storage, because it eliminates the long retrieval walks that forced you to keep duplicates. You don't need two sets of measuring tapes if the one you have is always within reach of wherever you're working.
If you ignore workflow arc and organize purely by product type or by what fits where, you'll find yourself constantly moving things from one spot to another to clear a work path. That's not a storage failure in the obvious sense. Your tools are technically stored. But a shop where you spend 10 minutes per session relocating things to make room is a shop that gets used less, and less-used tools are a waste of money.
When French Cleats and Base Cabinets Aren't Enough
There's a category of small-shop problem that no wall system or floor cabinet solves cleanly: lumber and sheet goods storage. A half-sheet of plywood leaning against a wall is a safety issue and a floor-space problem simultaneously, and most basement shops don't have a dedicated spot for it because the standard advice (build a lumber rack) assumes more ceiling clearance and floor depth than a 350-square-foot basement usually has.
The workable solution in a genuinely tight basement is vertical sheet goods storage. A freestanding vertical bin, essentially a tall narrow A-frame or L-bracket system anchored to the wall, takes a 12- to 18-inch floor footprint and stores full and partial sheets upright. There are commercial steel versions in the $80-to-$150 range (a practical heuristic, not a precise market survey) that bolt together and take about an hour to assemble. The DIY version costs less in materials but often takes more floor depth than people expect because the base needs to be wide enough not to tip. Whichever you use, the bin belongs at the far end of the shop from your primary work zone, away from the table saw outfeed path.
Short lumber, under 4 feet, is actually easier to handle: a simple horizontal rack with dowel or pipe arms mounted to the wall at head height holds a surprising amount of stock without eating floor space. This is standard cabinetmaking practice and works reliably in basement conditions as long as the wood isn't green (which it shouldn't be in a finished project).
The broader principle: once you've handled tools and sheet goods separately, the leftover storage problems in a small shop are almost always about accessories, jigs, and consumables. Those fit on cleats or in shallow drawers. Solve lumber first, because it's the least flexible item in the shop and every other storage decision works around it.
Dust Collection and Storage Are the Same Problem
I'd start with dust collection routing before finalizing any storage layout, because the two systems compete for the same wall and floor positions and you can't move dust collection hose runs cheaply after the fact.
A single-stage dust collector (the 1-hp to 1.5-hp units common in small shops, like those from Harbor Freight or Grizzly at the entry level) needs to sit within a manageable hose run of your primary chip-producing machines: table saw, miter saw, router table. In a 350-square-foot basement, that's typically no more than 15 to 20 feet of 4-inch flex hose from a central location, which is usually somewhere near the center of the long wall. That location is exactly where you'd want a large base cabinet or cleat panel.
The resolution most experienced small-shop builders use is a mobile base under the dust collector combined with short, dedicated hose drops to each machine location rather than a single long run. This keeps the collector movable, reduces hose tangles, and frees the main wall position for storage. It adds about $30 to $50 for a heavy-duty mobile base (again, a practical heuristic) but eliminates a persistent layout conflict.
Build storage after you've committed the dust collector position and hose runs to paper. Don't do it the other way around.
Putting It Together: The Decision Sequence
This article is not a guide for woodworkers with dedicated outbuildings, two-car garages, or shops over 600 square feet. The decision logic here is written for basement shops where every square foot has competing uses and ceiling height at the perimeter is the actual governing constraint.
Work through these decisions in order. Skipping to storage products before finishing the first two steps is the single most expensive mistake in this process.
- Measure each wall segment for usable height (floor to first obstruction), usable width (between obstructions), and clearance from your nearest machine's swing arc.
- Establish your lumber and sheet goods storage location first. It's the least flexible element.
- Commit your dust collection position and hose routing before buying or building anything else.
- Assign storage systems to remaining wall segments by ceiling height: French cleat panels where height permits and hand tools dominate; low base cabinets where height is limited or power tools need to live close to machines.
- Fill remaining gaps with station-based small holders, not more wall systems.
The storage system that survives five years of real use in a small shop isn't the one with the most capacity. It's the one that doesn't force you to move three things every time you need one. Capacity is a trap if it comes at the cost of retrieval friction.
One Condition Where This Approach Fails
If your basement shop doubles as a utility room, a seasonal storage area, or a shared family space, the station-based, tool-specific layout described above will fight you constantly. The workflow-arc logic assumes the room is dedicated to woodworking. A shop that has to clear out for a holiday party or store bicycles in the off-season needs a different approach: mobile bases under everything, closed cabinets instead of open wall systems, and storage that can be locked or covered when non-woodworkers are in the space.
In that scenario, the priority shifts to modularity over optimization. Closed, lockable base cabinets on casters are less efficient per square foot than a dedicated French cleat wall, but they can be rolled together to clear a path and they keep sawdust off items that aren't shop equipment. That's a meaningful trade-off, not a lesser option. If your basement serves multiple purposes, build for the reality of that, not for the fantasy of a dedicated shop you don't have yet.
The Setup That Actually Holds
If your ceiling clears 7.5 feet on at least one primary wall, start there with a 3/4-inch plywood French cleat panel sized to your actual hand tool collection, not to fill the wall. Pair it with two low base cabinets (28 to 30 inches tall) positioned at your primary machine stations for power tools and accessories. Handle lumber vertically before any of that, and lock in dust collection routing first.
That combination covers 80 percent of small basement shop storage needs without eating the floor space or fighting the ceiling. The remaining 20 percent is shop-specific and can be added incrementally once you've used the space for six months and know what actually needs a home.
Don't buy the tall cabinet. Not yet. Give the ceiling and the workflow arc their due first, then see what's left to solve.